

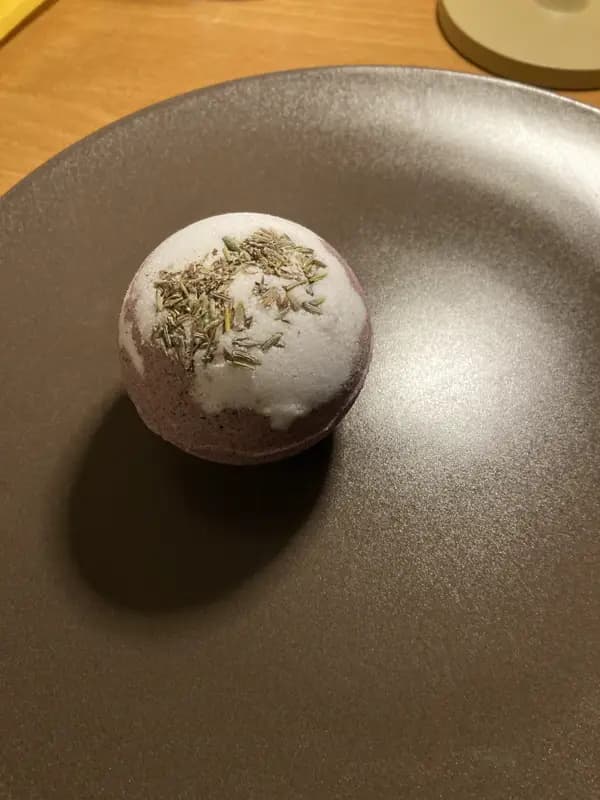
Lovely kit
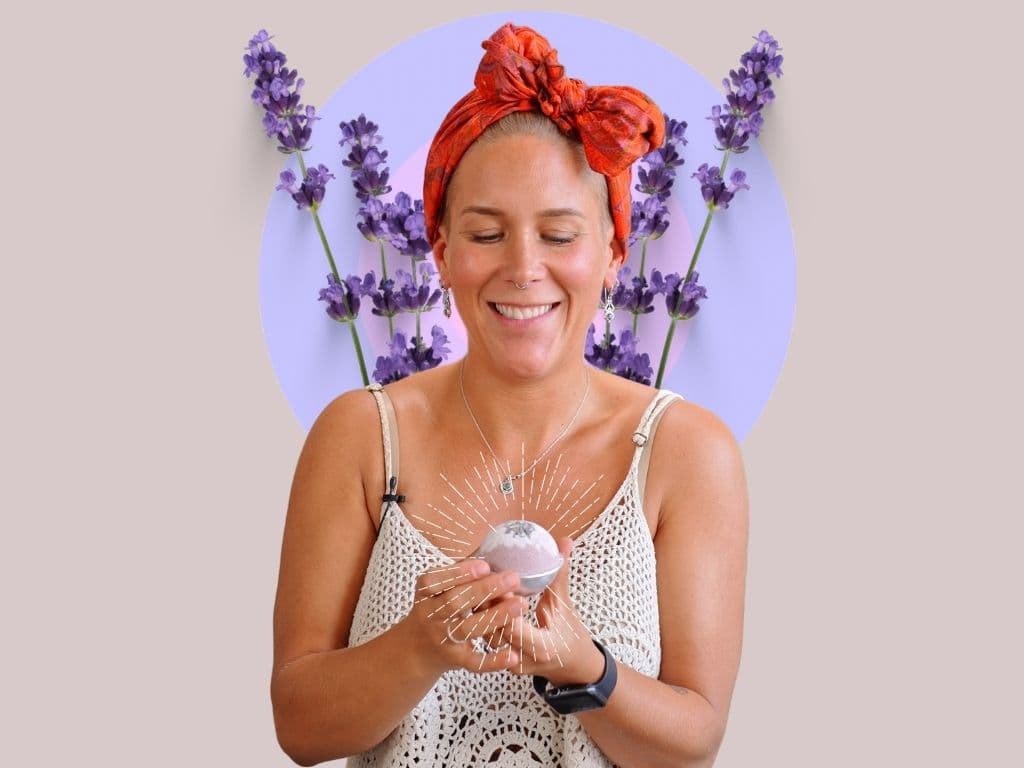
“Great fun to make yourself, and thanks to the instruction video it turned out well.”
Natanja · DIY Kit: Bath Bombs
New: No BS Deo stick, up to 40% off Shop now
Make it yourself with Natural Heroes
Want to make your own bath bomb? Discover how a handful of loose ingredients turns into a firm ball that fizzes in your bath. You'll read what you need, how to shape the mixture and which mistakes to avoid.
Prefer to start with pre-measured ingredients and clear instructions? Then take a look at the Natural Heroes DIY kit.

Many bath bombs are built on baking soda and citric acid. As soon as they dissolve in water, they react with each other. That reaction releases carbon dioxide: the bubbles you see in your bath.
While you're making them, you don't want that reaction to start yet. That's why you work with dry materials and add liquid ingredients carefully, following the recipe. Too much moisture can set the mixture fizzing before it is even in the mould.
Fizzing is not the same as foaming. How much foam you get depends on the other ingredients in the formula.
Baking soda is not the same as baking powder. Baking soda is sodium bicarbonate; baking powder is a mixture that contains other substances too. And lemon juice is no substitute for dry citric acid: its moisture starts the reaction while everything is still in the bowl.
Good preparation makes mixing and moulding much easier. Lay everything out before you begin and read the full instructions first.

Together with citric acid, it forms the fizzing base. Use the ingredient your recipe calls for; baking soda is not the same as baking powder.

Reacts with baking soda as soon as the mixture comes into contact with water.
These determine things like scent, colour and texture. Use the prescribed combination and quantities.
To spread the ingredients evenly without accidentally adding moisture.

To press the mixture firmly together and give it its shape.
To weigh out the quantities in your recipe accurately. Not needed when your ingredients are pre-measured.
To let the bath bombs dry and then protect them from moisture.
This is a general overview. Exactly which ingredients and tools you need depends on the recipe or kit you're working with.
This is what the process looks like in broad strokes. For exact quantities, mixing order and drying time, always follow the instructions of the recipe or kit you've chosen.
Clean your worktop and make sure the bowl, utensils and mould are dry. Set out your ingredients. Handle powders calmly so they don't puff up into the air.
Mix the dry ingredients that the instructions say to combine. Break up any lumps so the powders are well distributed. Keep ingredients that go in later to one side for now.
Follow the prescribed order and add liquid ingredients gradually while you mix. Don't pour in extra water or oil by feel. The right amount matters for moulding and drying.
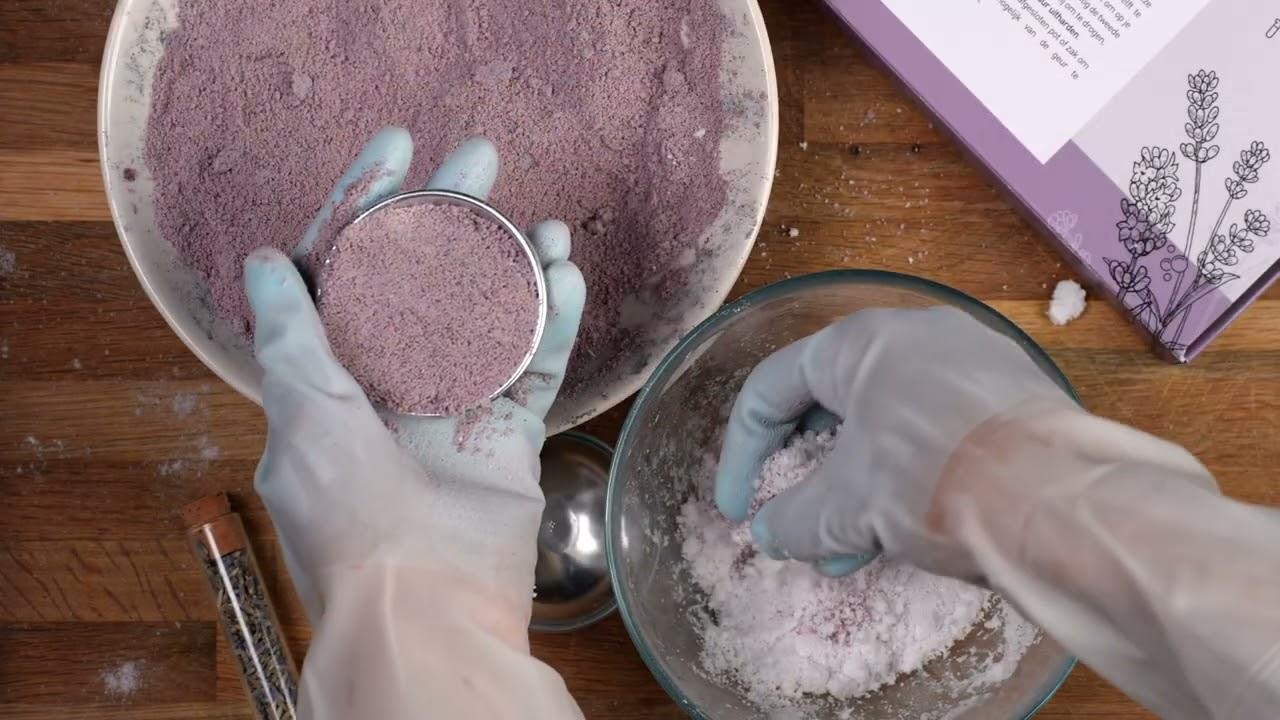
Many bath bomb mixtures feel like slightly damp sand and hold together when you squeeze them. Use the description in your instructions as your guide. If the mixture falls apart, first check that you followed every step and quantity.
Divide the mixture over the mould and press it down as the instructions describe. Work carefully around the edges. With a two-part mould, filling both halves evenly helps them close neatly.
Take the bath bombs out of the mould when the instructions say so. Let them firm up in a dry spot before you package or use them. Protect the finished bath bombs from moisture and splashes.
Both work well. The difference is mainly how much weighing and research you do yourself.
| Feature | DIY Kit: Bath Bombs | Loose ingredients |
|---|---|---|
| Ingredients | Pre-measured | Weigh out yourself, following a recipe |
| Instructions | Included | From a recipe of your choice |
| Scales needed | No | Yes |
| Result | Three bath bombs | Depends on your recipe |
| Price | €19.99 | Baking soda from €5.99 · citric acid 500 g €6.50 · mould €2.09 |
From our shop
Too much moisture may have been added, or the equipment was still wet.
Check the prescribed quantities and use completely dry tools next time. Adding extra powder by feel changes the ratios in your recipe.
This can have several causes: the mixture wasn't evenly distributed, wasn't pressed firmly enough or came out of the mould too early.
Go back over the steps before you change the recipe.
Extra liquid, a humid room or too little drying time can all play a part.
Let the bath bomb dry as the instructions say and avoid places with constant steam or splashing water. Packaging only helps once the bath bomb is dry and firm enough.
DIY kit
With the Natural Heroes DIY Kit: Bath Bombs you make three bath bombs. You start with pre-measured ingredients and follow the instructions included. That way you can focus on mixing and moulding.
The product page has more information about what's in the kit and how it's put together. Check there what you get and what to have ready at home.
Reviews with photos
“Great fun to make yourself, and thanks to the instruction video it turned out well.”
Natanja · DIY Kit: Bath Bombs
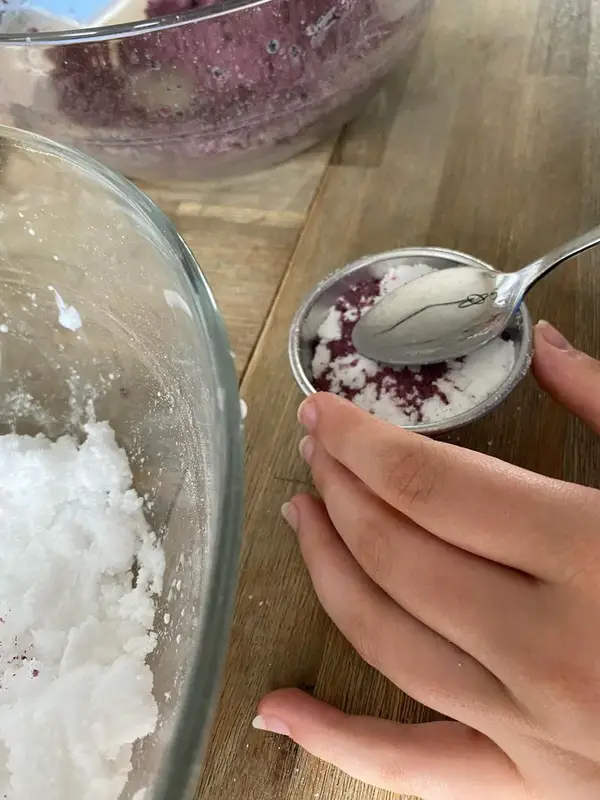
“The instructions on the kit were clear and easy to follow. So nice to be able to say I made my own natural bath bombs!”
Lydia · Lavender Bath Bomb (DIY Kit)
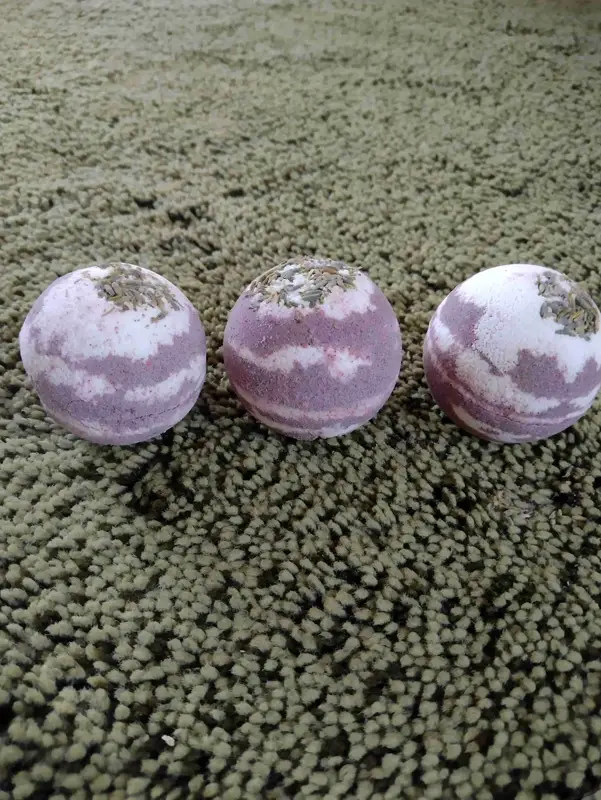
“Easy to make, even with little or no experience.”
Edith · Lavender Bath Bomb (DIY Kit)
Reviews translated from Dutch.
Recipes
Use your bath bomb in the bath water as the instructions for use describe. Keep the ingredients and the mixture away from your eyes and mouth. Making bath bombs with children? Then have an adult supervise and keep an eye on the instructions.
Don't add extra fragrance or essential oil beyond what the recipe says. Bear in mind any ingredients you are sensitive to, and stop using the product if irritation occurs. Oil or product residue can make the bath slippery; rinse it clean after use.
Yes, you can start with a recipe or kit that has clear instructions. Read them all the way through first and set out your materials. A kit with pre-measured ingredients means you don't have to weigh anything, but careful mixing and moulding still matter.
No. Baking soda is sodium bicarbonate. Baking powder is a mixture that contains other substances too. So don't swap baking soda one-for-one for baking powder in a bath bomb recipe.
Not just like that. Lemon juice contains water and has a different composition from the dry citric acid in a recipe. That moisture can start the fizzing reaction while you're still making the bath bombs. Stick to the prescribed ingredients.
That depends on the recipe, the size and the conditions you're working in. Follow the drying time in your instructions and check that the bath bombs are firm enough to package. The time you spend actively mixing and moulding is not the same as the total time until they're ready to use.
Only use additions that are suitable for use in the bath and fit within a tested recipe. Don't add extra essential oil, fragrance, colourant or glitter by feel. For your first attempt, start with the original formula.
Let them dry completely first, as the instructions describe. Then store them sealed in a dry place, away from bath water and humid air. Follow the storage advice of your recipe or kit for how long they keep.
You now know what makes them fizz and what to watch for while you make them. With a dry workspace, careful mixing and the right instructions, you're ready to start on your first bath bombs. Take a look at the Natural Heroes DIY kit and find out what you need for your own making session.
View the DIY kitPre-measured ingredients and instructions to get started yourself.
Do you want to stay updated on offers, (giveaway) actions and recommendations? This way you won't miss out on anything! Not too often, we promise.
 You can unsubscribe at any time.