Ready-made products for your natural routine..
Do you want to stay updated on offers, (giveaway) actions and recommendations? This way you won't miss out on anything! Not too often, we promise.


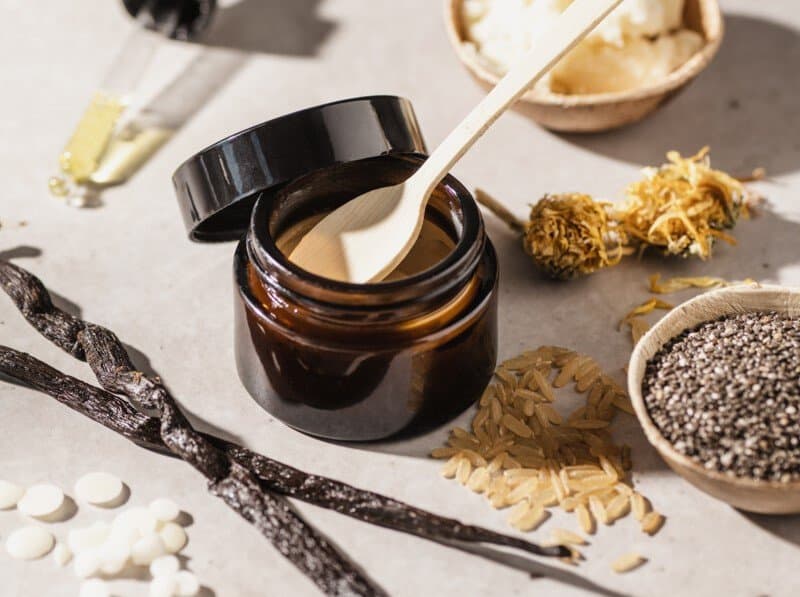
Just like cooking, formulating with natural raw materials is a creative process in which the variations are endless. Instead of going to the chemist to buy a ready-made product, you choose to use raw materials pure, or you come up with a fun recipe in which you combine different raw materials. But where do you begin when it comes to the ingredients? In this blog I explain how you build up a recipe and which ingredients you can choose from.
For most of us, cooking is a normal daily activity. You look in your fridge to see what you have to eat, pull open your spice drawer and think up something tasty to put on the table. Whether it is a culinary masterpiece or simply potatoes, meat and vegetables, you know exactly what is in it and you have made it nice and fresh. Sometimes you might opt for a takeaway meal for convenience, but you feel that if you do this too often you no longer really have a view of the calories, and you can do less to limit your use of plastic.
With making cosmetics, it is actually exactly the same. Instead of ready-made products, you can also choose to make it yourself. That way you can determine exactly what is in it, avoid ingredients you would rather not put on your skin, reduce the use of plastic and make a wonderful product that works for you! Sounds fun, right?
But where do you begin when it comes to the ingredients? There is so much to choose from. It is only natural that a little choice stress arises. In this blog I explain how you build up a recipe and which ingredients you can choose from. In addition, I give you a handy questionnaire that you can run through before you start and a few basic recipes with which you can get a kickstart for your DIY adventure.

Start your recipe by determining your base ingredient. The base makes up 50% to 70% of your final product and can consist of various types of ingredients that are highly decisive for the end result.
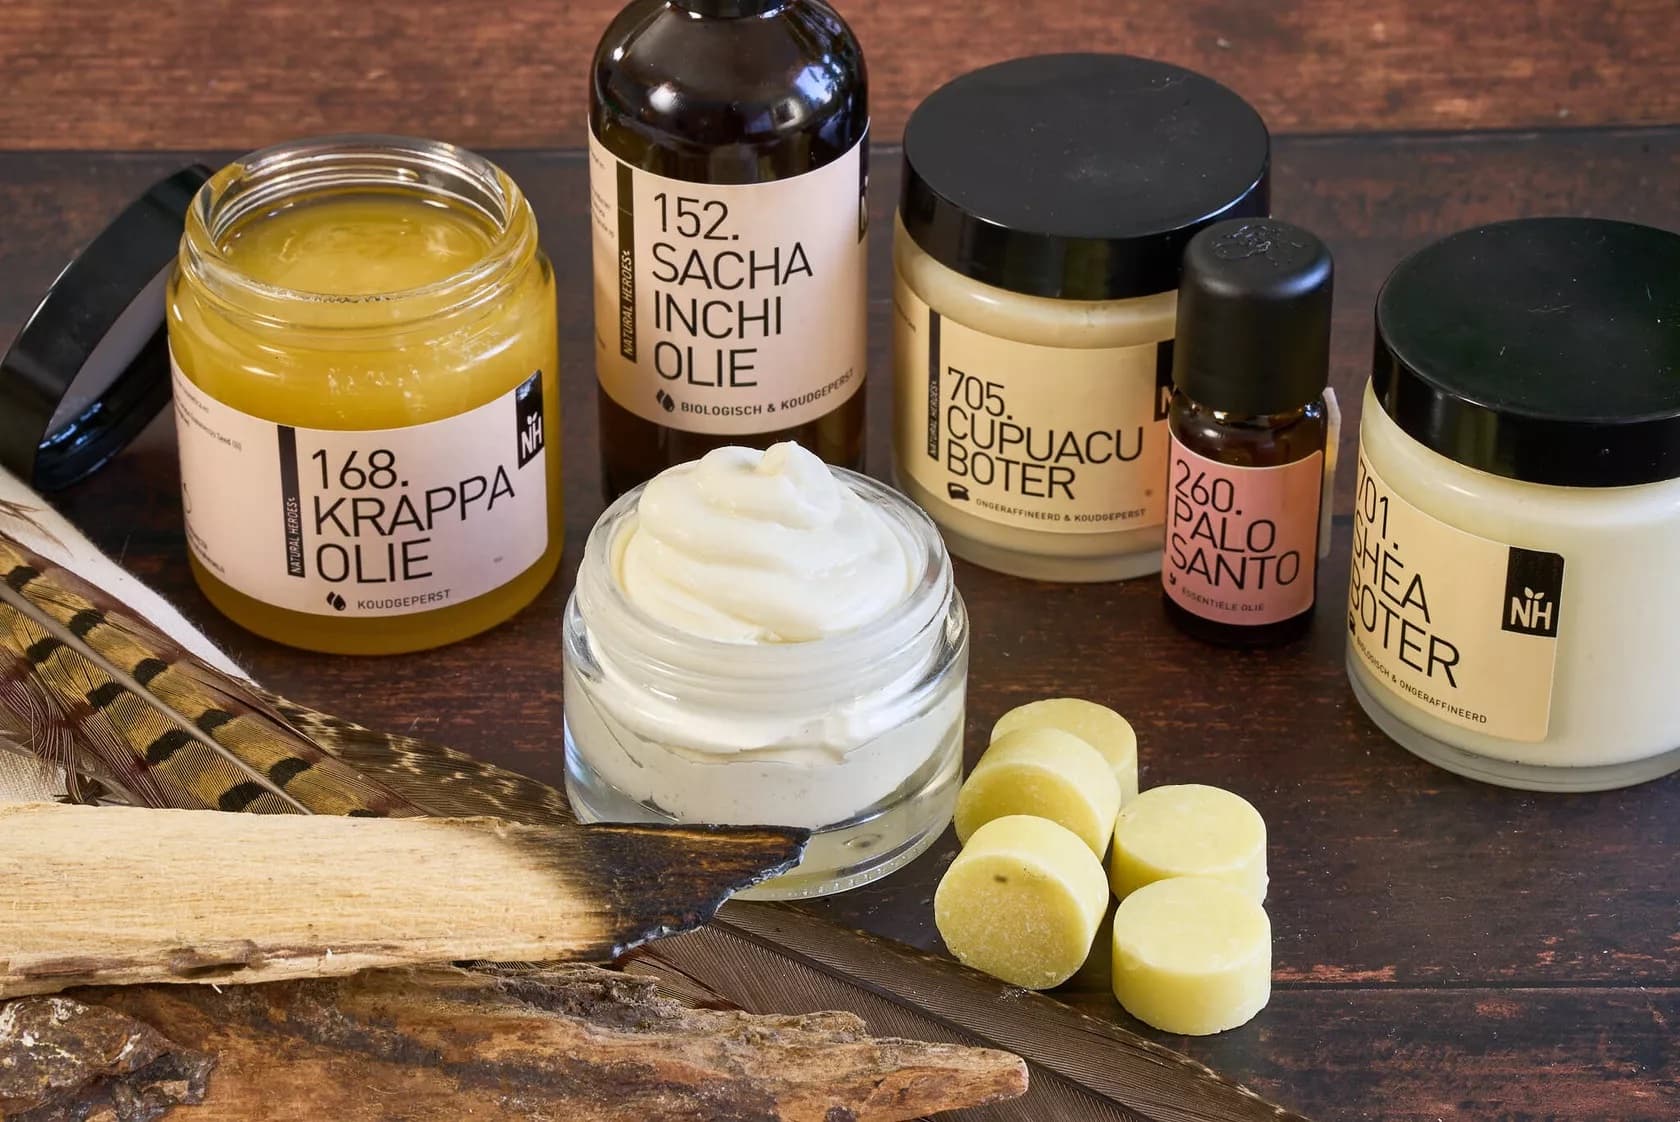
Are you going for a body butter? Then your base is a butter. Our trusty heroes are without doubt Shea Butter, Cocoa butter and Mango Butter. They give a firm base to a body butter or balm. But also to a deeply nourishing night cream, for example. Do you want a soft end result, then choose a soft butter such as Shea Nilotica, or if you would rather have a harder butter for a body butter stick, then choose a hard butter such as Cocoa butter.
Do you want to make a balm? Then add a wax to the base. Go for the traditional Beeswax, or choose a vegan alternative such as Myrica Fruit wax. They give your product a firmer end result and provide a sealing effect on the skin. If you combine this with a butter and an oil you can quickly make a very lovely product that is completely tailored to your skin type. The more wax you add, the firmer the end result. Also look at the differences between the waxes: one is a bit firmer and the other a bit softer. Berry Wax, for example, is very soft with a melting point of 48 degrees, and Carnauba wax is fairly hard with a melting point of 82 degrees.
Do you want to make an oil serum? Or a lightweight cream based on oil and water? Then use a carrier oil as a base and choose the oil that suits your skin type. There are oils that absorb quickly and ones that absorb slowly. Some are pore-clogging, others not at all. Jojoba oil, for example, resembles our skin's own sebum and is even suitable for oily skin. Whereas Coconut oil absorbs slowly and is especially nice for dry skin. Do you want to know which oil suits your skin type? Then fill in the questions of the oil-finder and discover it for yourself!
Do you want to make a moisturising product? Then use a hydrosol as a base and choose the specific hydrosol that suits your skin type. Our favourites for dry skin are Chamomile water and Rose water and for oily skin Orange blossom water and Witch Hazel are lovely.
Once you have laid the base of your recipe, you can start looking at the functional ingredients you can add to your recipe. Functional ingredients can lift your DIY creation to the level of a fully fledged cosmetic product that you could sell in the shop just like that.
Do you want to blend oil with water? Then you need to use an emulsifier. If these are essential oils in water, you use Solubol and if you want to blend carrier oils into water, then you use an emulsifier such as Olivem or Vegetal. They often make up 3 to 8% of your recipe, depending on how much oil you add. And take note: if you want to blend carrier oils with water, you must always heat both phases to 70 degrees. Do you want to know more about this? Then take a look at this Basic Lotion recipe.
Cleansers
Do you want your product to cleanse? Then choose to add a surfactant (surface-active substance). Use, for example, Coco Glucoside to make your shower gel foam, or Cocamidopropyl betaine to make your own micellar water. The amount varies per recipe, but you often use between 10 and 20% for the best result.
Do you want to give your creation an extra hydration boost? Then add a humectant such as Glycerine, Papaya Glycerite, Sodium PCA or Panthenol. They often make up 5 to 10% in a recipe. They are water-soluble, so you add them to a recipe that contains water.
Exfoliating
Do you want to make a scrub or exfoliate? Then you can look at Lactic Acid, Bamboo Scrub or Cane Sugar. They give your creations an exfoliating action that provides fresh, even skin.
Do you want to protect the oils in a recipe against oxidation? Then you can choose to add an antioxidant. Think here of Vitamin E Oil or Rosemary Antioxidant. They ensure that your recipes keep smelling lovely and stay good for longer.
Are you going to make a product with water? Then protect your creation by adding a preservative that suits your recipe. Are you going to make a recipe that consists only of water? Then choose Preservative 1388 ECO or Leucidal. Are you going to make a recipe that also contains oil, then choose Cosgard or Preservative Eco. A preservative is often added at the end of a recipe, during the cooling phase, and you use 0.6 to 4% depending on the type you choose.
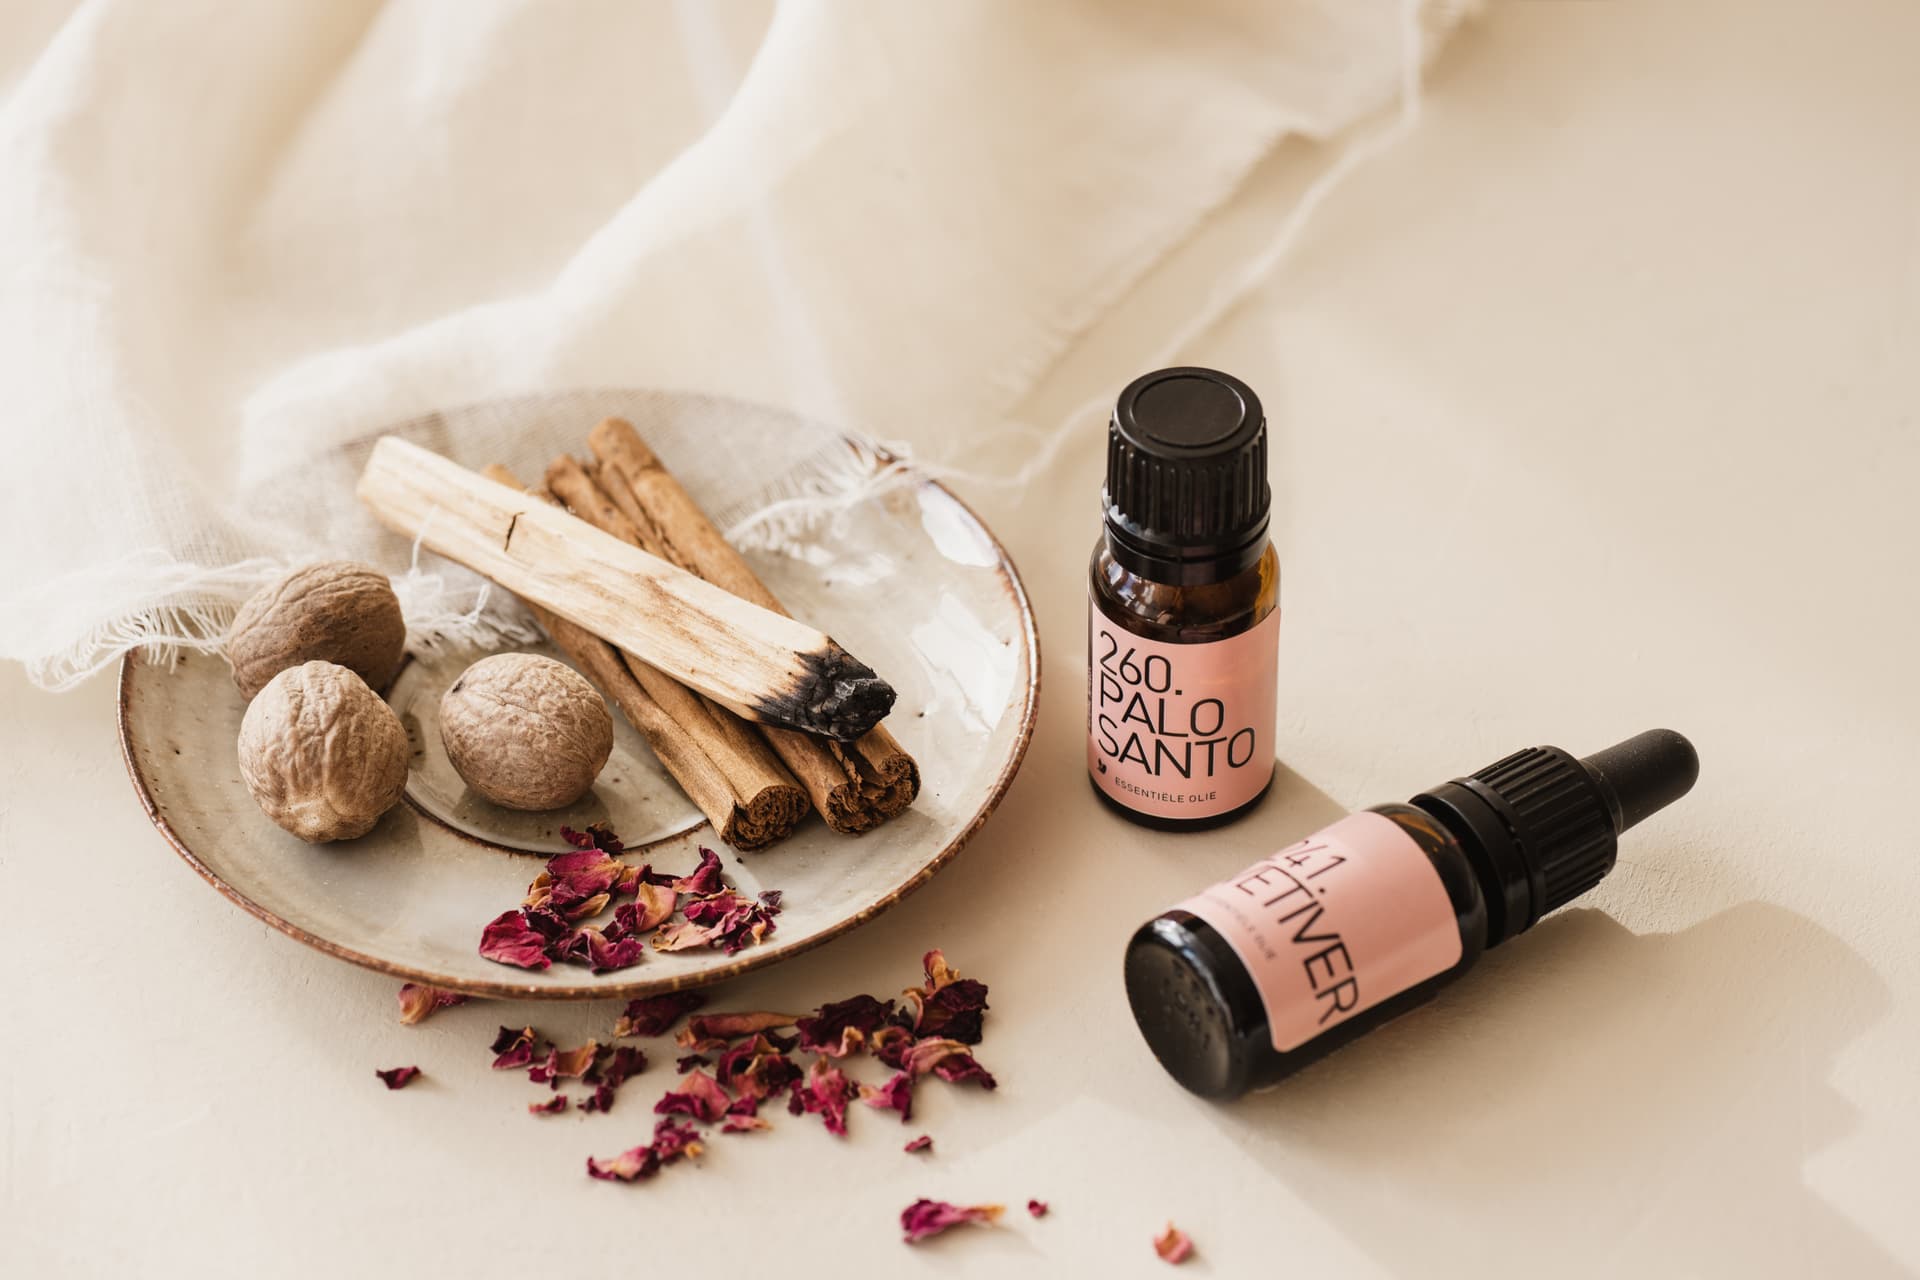
Now that you have chosen the functional ingredients, you can start looking at the scent you want to give your recipe. When choosing a scent you can look at Essential oils.
There are hundreds of essential oils that are used in aromatherapy. However, they are not all suitable for cosmetics. A few examples of essential oils you can use in cosmetics are Lavender, Chamomile, Lemon, Grapefruit, Peppermint and Frankincense. Essential oils are extracted from natural raw materials by means of, among other things, distillation. They give a lovely scent to cosmetics and, as a bonus, are packed with antioxidants. Their use does need to be approached with care. For some essential oils it is important to bear a limit in mind.
As a general rule of thumb you can keep to an essential oil not being more than 1% of your total recipe, then you are usually on the safe side. Do you want to know what the maximum dosages of essential oils are? Then take a look at the PDF below. And do you want to read more about essential oils? Then take a look at this blog.


Once you have decided to start, you can keep to the following checklists when choosing the ingredients and determining the method of preparation.
Ingredients
What is the desired end result? Do you want to make an oily, soothing, hydrating, protective, cleansing or exfoliating product?
Where are you going to apply the product? Around the eyes, on the face, the body or the scalp?
What are the maximum dosages for the preservatives, additives and antioxidants you want to use to guarantee the action and ensure they do not irritate?
What are the maximum dosages for essential oils? Face <1%, Around the eyes <0.1%, Lips: >0.5%, Body: >2%
Preparation
Do I add the ingredient in the water, oil or cooling phase?
Are the raw materials sensitive to heat?
At what temperature can an ingredient be blended with another ingredient?
When should I stir or not? And at what speed?
How do I cool the emulsion? With or without a lid? In the fridge, freezer or rather at room temperature?

And then, last but not least, the Do's and Don'ts of DIY-ing.
DO
Start in a tidy, clean kitchen
Lay out all your tools
Have your ingredients ready
Remove waxes and butters with a piece of paper first before you wash up
Weigh everything beforehand
Keep a small notepad, that way you can always see what you have done
Work with exact percentages and grams
DON'T
Clear a small spot in a mess
Search for tools during the process
Measure temperature with your fingers
Rinse wax and butters with cold water
Measure everything roughly and add by feel
Work with different units
Walk away while changing a raw material
In short: a whole arsenal of products that you can endlessly vary with. Do you find this incredibly interesting and are you completely done with all those bottles and jars from the chemist? Then try starting with DIY-ing some time and take a look at our Basic recipes below, which will help you on your way!
Have lots of fun making your own cosmetics!
Written by: Malou Hofmann