Ready-made products for your natural routine..
Do you want to stay updated on offers, (giveaway) actions and recommendations? This way you won't miss out on anything! Not too often, we promise.


Have you always wanted to make your own cream, but have no idea where to start? Curious about how the base of a cream is put together? In this blog, we explain everything to you. This way, you can start making your own cream right away. Of course, you can also use one of the (basic) recipes.
The big advantage of making your own cosmetics is that you know exactly what is in your cream. And of course that you can decide for yourself which ingredients you want to add to your cream. A cream can have several functions on the skin. A good cream hydrates, repairs and protects the skin. It also provides antioxidants and vitamins. This way, your skin is protected against harmful external factors, such as air pollution or weather influences.
A cream is an emulsion that consists of water and fat (oil). These two substances normally cannot be mixed. That is why you also need an emulsifier.
An emulsifier therefore mixes water and oil together into one whole. Sometimes it may be necessary to add a thickening agent to ensure that a cream is not too liquid. Most creams are oil-in-water (O/W) emulsions. The cream then consists of less than 50% oil and more than 50% water. This makes a cream feel light and not greasy.
When you leave water standing for a while, bacteria grow in it. Part of a cream consists of water, so if you leave it standing for a while, bacteria will grow in it too. To prevent this, you always need a preservative.

So every cream consists of a number of fixed basic ingredients: water, oil, emulsifier, thickening agent and a preservative. Beyond that, you can get creative with the ingredients you would like in your cream.
Water
This can be demineralised water or a hydrosol.
Oil
For this you can use all carrier oils such as almond oil or jojoba oil. Every oil has a different composition and different nutrients for the skin. For dry, sensitive skin you could, for example, go for a non-drying oil. This oil absorbs into the skin very slowly. For oily, impure skin it is better to choose a drying oil. This is a light oil that absorbs quickly into the skin.
Emulsifier
There are various emulsifiers you can use when making your cream. These are the most commonly used:
Olivem 1000: a plant-based emulsifier that creates a beautifully smooth cream and provides good spreadability
Vegetal: this natural emulsifier allows oils to dissolve in water and gives products good spreadability.
Thickening agent
To make sure that your cream is not very liquid, you add a thickening agent.
Xanthan gum is a natural thickening agent that ensures a cream is not too liquid. It also provides a stable cream, meaning the cream does not separate.
Cetyl alcohol: Huh? Alcohol? But doesn't that dry out the skin? Cetyl alcohol is a fatty alcohol that helps to hydrate and protect your skin and prevent dehydration! Cetyl alcohol is a co-emulsifier and is used with other emulsifiers. It gives your cream a velvety texture.
Preservative
When you make a water-based DIY creation, you always need a preservative to prevent the growth of bacteria and moulds.
For emulsions (creams, that is) you can use Preservative Eco or Cosgard.
Extra ingredients
And of course you can go wild with your own favourite ingredients. Glycerin, hyaluronic acid, Allantoin, essential oils. Choose what suits your skin.

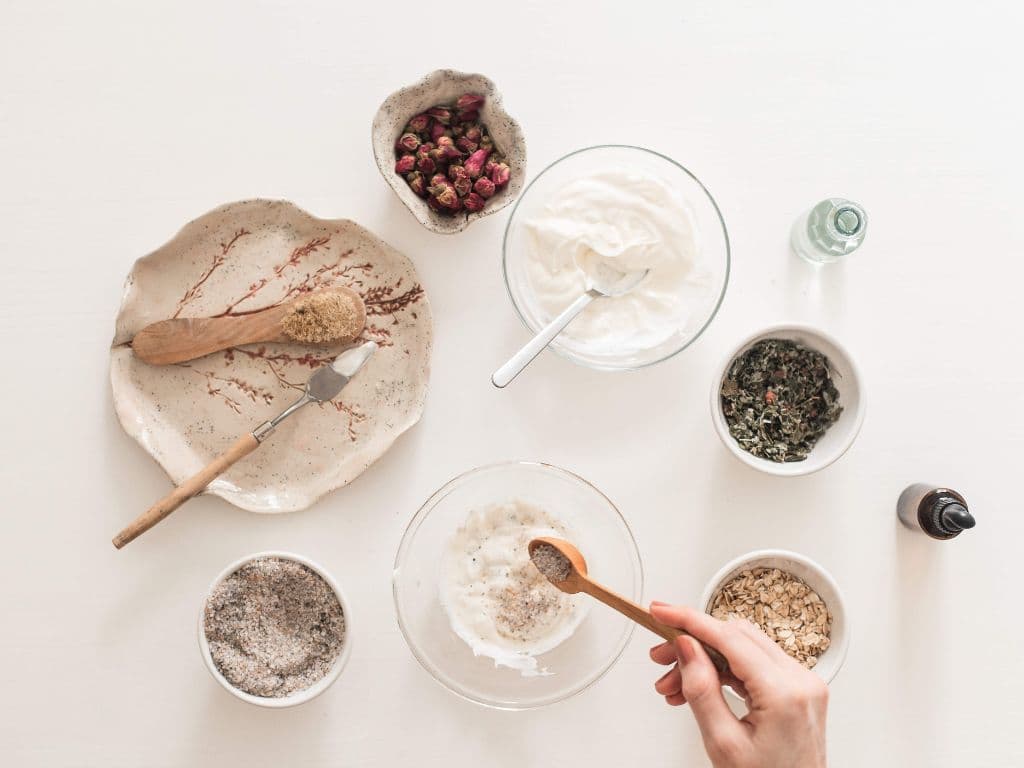
To make a cream you always need a few basic essentials. At the start you do need a number of basic materials. But once you have them at home, they will last you a very long time and in the end you are cheaper off than if you had to buy a day cream every month:
Precision scale
Measuring cup
Melting pan Au bain-marie
Digital thermometer
pH strips or a pH meter
Citric Acid Monohydrate, Baking Soda and Demineralised water (to adjust the pH value of your final product)
Glass jar
Step 1: set out all the essentials and ingredients
Step 2: weigh everything; you always make 10% extra to keep aside for measuring the pH value
Step 3: heat the ingredients. You do this in 2 phases. Heat all the aqueous ingredients together and at the same time heat the oils together and add the emulsifier to these
You will therefore also need 2 measuring cups or 2 melting pans for this. You can place the measuring cups in a pan with a thick bottom containing about 3cm of water. Suspend the melting pan over a saucepan of water. It is important that the water is nice and warm but does not boil.
Step 4: When the water and the oil are both 70 degrees, remove the pans from the heat
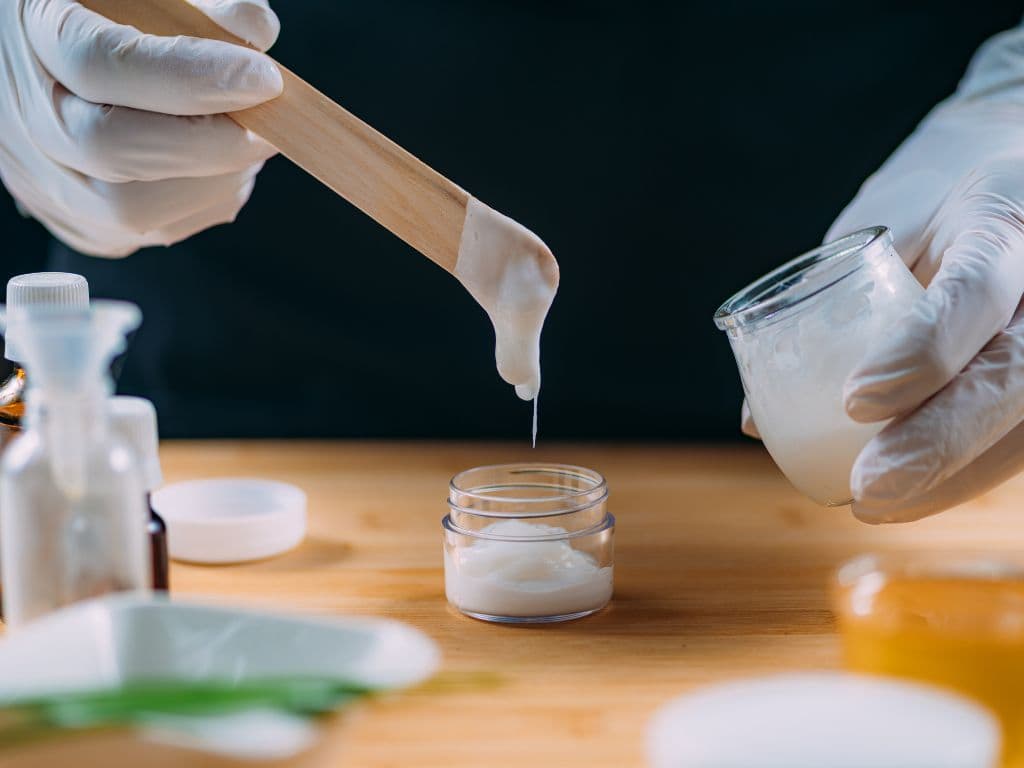
Step 5: Add the oil to the water while stirring
Step 6: Add the extra ingredients and, if desired, the thickening agent
Step 7: Keep stirring until the mixture is below 40 degrees
Step 8: Then add the preservative and stir well.
Step 9: Add the essential oils and, if desired, vitamin E. Vitamin E is an antioxidant and provides extra protection for the skin against external influences.
Step 10: Measure the pH value and adjust it until the pH value is at 5.5.
Step 11. Pour into a jar and place in the fridge.

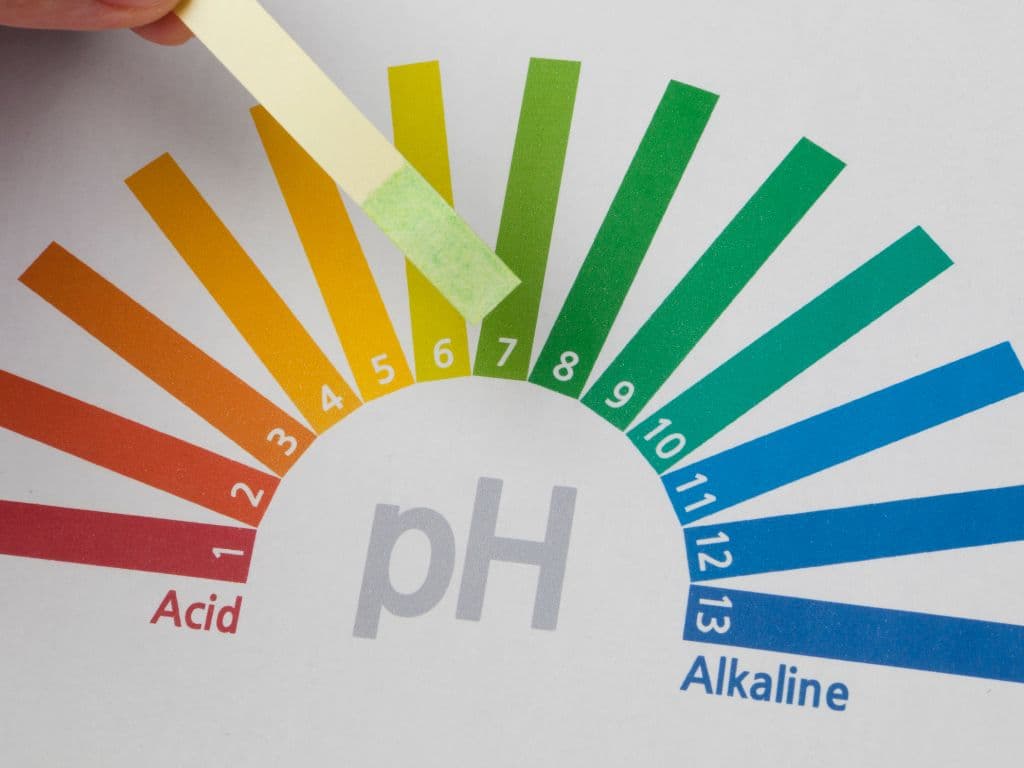
pH stands for potentia Hydrogenii, that is, the concentration of hydrogen ions. These hydrogen ions determine whether a product (or your skin) is acidic or alkaline. The pH value is measured on a scale from 0 (very acidic) to 14 (very alkaline), where a pH value of 7 is neutral.
The skin has a pH value that fluctuates between 4.5 and 5.5 and is therefore slightly acidic. If you want to keep your skin healthy and in balance, it is important that the skin maintains a pH value around 5.5.
Skin with a high pH value is often drier, reacts with irritation more quickly and also ages faster. The pH value is therefore quite important.
Tap water has a pH value of around 7. So when you shower often and/or for a long time, your pH value can become unbalanced and your skin can dry out more quickly.
The pH value of your product determines how your skin reacts, but also how effective a product is and how deeply a product can penetrate the skin. A good pH value ensures that your skin stays in balance.
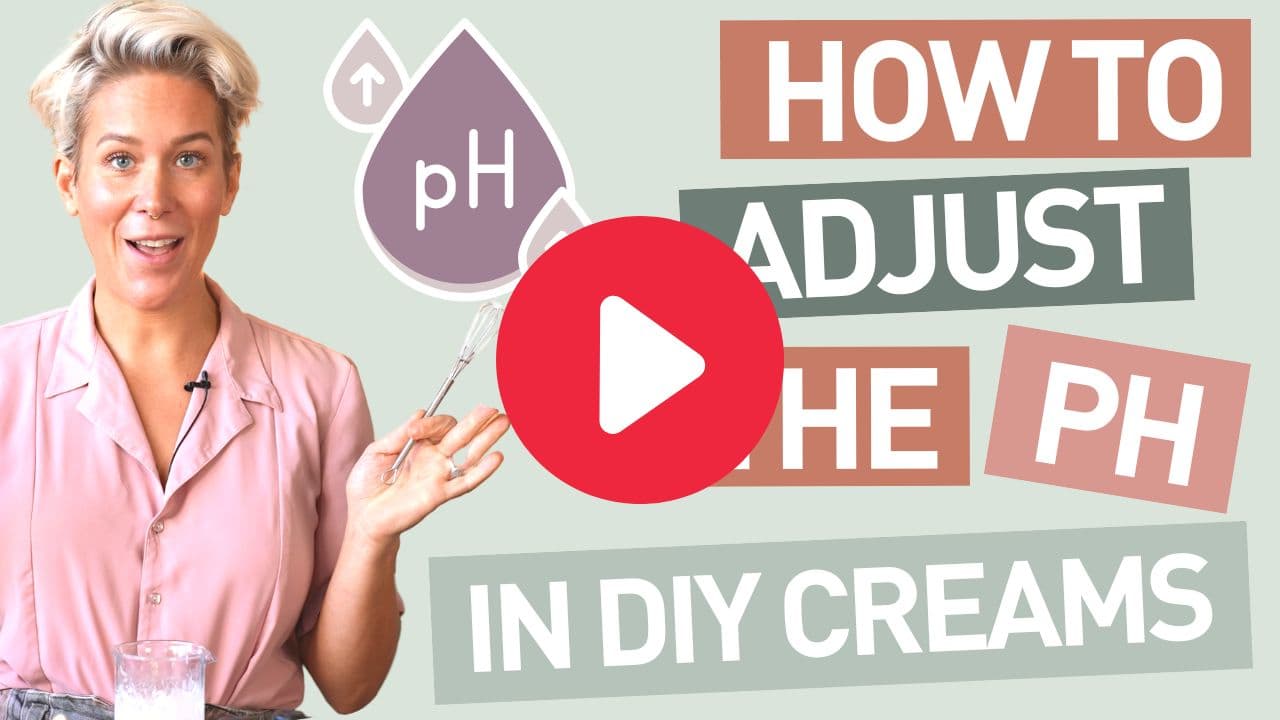
Curious about how to adjust the pH value of your product? In this video, Malou explains everything about adjusting the pH value of your product.
Of course, something can always go wrong when making your cream. And you learn from mistakes; doesn't that ultimately make the process fun too? The biggest problem when making a cream is separation. It then looks as if there are lumps floating in the liquid. Often this has to do with the water and oil components having too large a difference in temperature during mixing. Unfortunately, there is not much you can do about this. So always start simple. When you want to try a more difficult recipe, you can first practise with a few cheap ingredients (for example, tap water and sunflower oil) or make a very small amount so that you do not waste lots of expensive ingredients.
Do you have questions about a recipe or are you not quite getting there? Then let us know. Send an email to support@naturalheroes.nl
Written by: Helena Laarman